- +86 13837949030 +86 15890619536
- info@lymcbearings.com export@lymcbearings.com
- Luoxin Industrial Cluster, Luoyang City,Henan Province,China
Time:2025-07-16 02:38:31 Source:LYMC Slewing Bearing
Replacing a double-row ball slewing bearing is a complex and critical procedure that typically requires specialized knowledge, equipment, and adherence to manufacturer guidelines. It's not a DIY job for most individuals, especially given the heavy machinery and safety implications involved.
This is a general overview, and you MUST consult the specific manufacturer's manual for your equipment and bearing model for precise instructions and safety protocols.

Safety First:
Disconnect Power: Ensure the machinery is completely de-energized and all power sources are locked out/tagged out.
Secure the Load: If the bearing supports a structure (e.g., crane boom, excavator arm), secure it properly to prevent accidental movement.
Personal Protective Equipment (PPE): Wear appropriate PPE, including hard hat, safety glasses, gloves, and steel-toed boots.
Stable Position: Ensure the entire machine is in a stable position before starting any work.
Assessment of Existing Bearing:
Thoroughly inspect the old bearing for signs of wear, damage, corrosion, or any other issues that might have led to its failure. This can provide insights into potential root causes.
Check for loose bolts, seal integrity, and any abnormal noises or movements.
Gather Necessary Tools and Equipment:
Heavy-duty lifting equipment (cranes, forklifts, hoists).
Torque wrenches (calibrated for high torque values).
Specialized tools for removing and installing large bolts.
Feeler gauges for checking flatness and gaps.
Cleaning supplies (degreasers, rags).
New slewing bearing (ensure it's the correct model and type).
New high-strength bolts, nuts, and hardened flat washers (never reuse old fasteners).
Appropriate grease for lubrication.
Measuring devices (dial indicators) for checking runout and deflection.
Prepare the Mounting Surfaces:
The surfaces where the slewing bearing will be installed (both upper and lower) must be meticulously clean, flat, and free of any debris, burrs, welding beads, or paint.
If welding has been done on the supporting structure, it should be stress-relieved and then machined flat to meet the manufacturer's flatness specifications. Uneven surfaces can lead to premature bearing failure.
Unpacking and Inspection of New Bearing:
Carefully unpack the new bearing, avoiding damage to seals.
Inspect it for any shipping damage or manufacturing defects.
Remove any preserving agents from the contact surfaces and gearing with an alkaline cleaning agent, being careful not to let it get into the seals or raceway.
Remove Connected Components: Carefully remove any components connected to the slewing bearing (e.g., boom, jib, gearboxes, motors) to gain full access.
Unfasten Bolts: Systematically loosen and remove the mounting bolts that secure the old slewing bearing. Note the arrangement of components.
Lift and Remove: Using appropriate lifting equipment, carefully lift and remove the old slewing bearing.

Positioning:
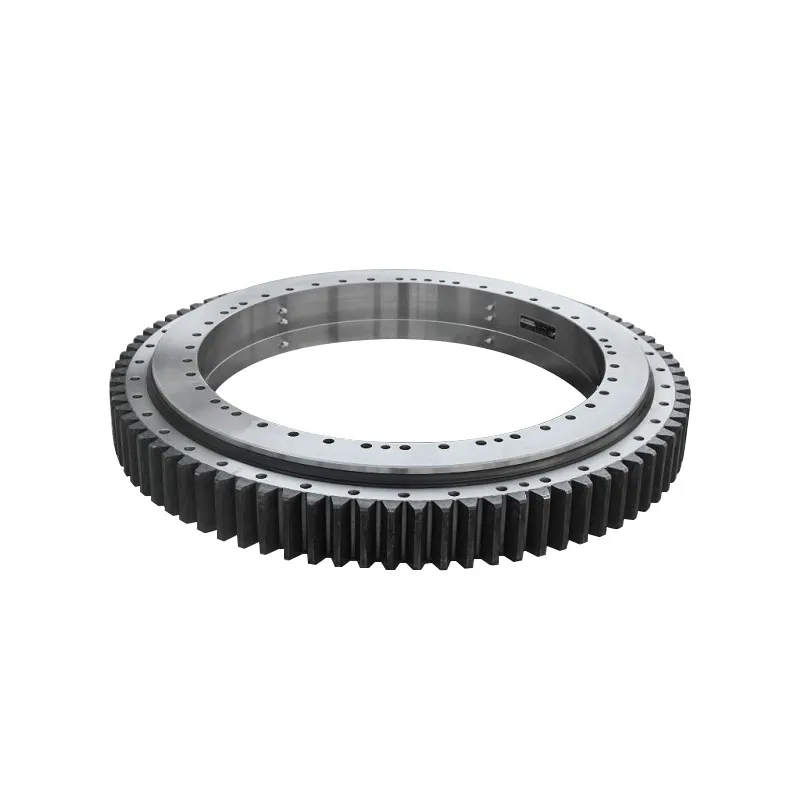
"S" Mark/Soft Zone: Locate the "S" mark (or plug hole) on the bearing rings. This indicates the unhardened "soft zone" of the raceway. This soft zone should be positioned in the non-load area or non-constant load area. For lifting and excavating machinery, it's often placed at a 90° angle to the boom's direction (the direction of maximum load). If both rings have a soft zone, they should ideally be staggered by 180 degrees.
Align Bolt Holes: Carefully align the bolt holes on the bearing with the mounting holes on the structure.
Check Contact and Flatness:
Once the bearing is in place, use a feeler gauge to check the contact between the bearing's plane and the supporting structure.
If there are any significant gaps, shims may be required to ensure even support and prevent deformation of the bearing when bolts are tightened. This is crucial for proper load distribution.
Adjust Gear Backlash (if geared):
If the slewing bearing has an integrated gear, adjust the backlash (the clearance between the teeth) before tightening the mounting bolts.
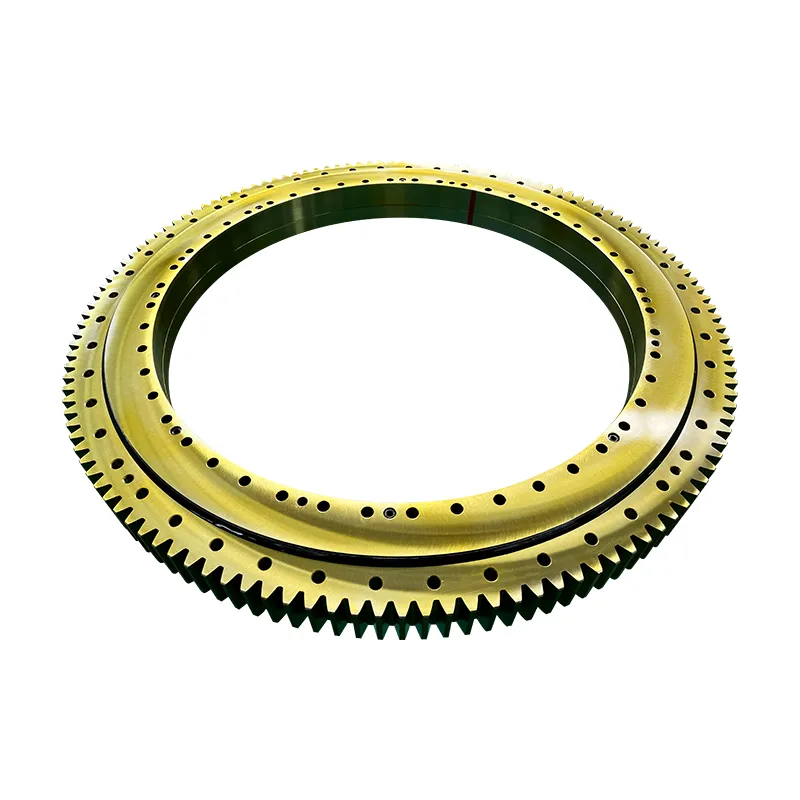
Manufacturers often mark specific teeth (e.g., with green or red paint) where the highest point of radial runout of the gear pitch circle is located. Adjust the pinion at these points to achieve the correct backlash (typically 0.03 - 0.04 x module, or as per manufacturer specifications).
Install and Tighten Bolts:
Use high-strength bolts, nuts, and hardened flat washers. Spring washers are strictly prohibited.
Install all fasteners lightly at first.
Tighten bolts symmetrically in a cross or star pattern, often in 180° increments, to ensure even distribution of the preload.
Tighten to the manufacturer's specified torque values using a properly calibrated torque wrench. Hydraulic tensioning devices may be recommended for larger bolts.
The pretension force of the bolts should be approximately 70% of the bolt material's yield limit.
Ensure the minimum screwing depth is met for threaded blind holes.
Rotate the Bearing: After all bolts are tightened, slowly rotate the slewing bearing several full turns (e.g., at least 3 turns) to ensure smooth, free movement without any binding or resistance.
Recheck Backlash: Recheck the gear backlash over the entire circumference after final tightening.
Measure Deflection/Runout:
Place a dial indicator or other measuring device between the two rings, as close to the raceway as possible, on the main load axis.
Measure the total deflection under a known load. This helps verify the proper installation and stiffness.
Lubrication:
Fill the raceway with the appropriate amount and type of grease recommended by the manufacturer.
Lubricate while slowly rotating the bearing to ensure even distribution. Continue until old grease purges past the seals.
Also, lubricate the gear teeth if applicable.
Final Visual Inspection: Check for any signs of damage, misalignment, or issues.
Reattach Components: Reattach any components that were removed, ensuring proper alignment and connection.
Functional Testing: Conduct comprehensive tests of the machinery to verify the correct functioning of the new slewing bearing. Check for abnormal noises, smooth rotation, and proper load-bearing capacity.

Regular Lubrication: Adhere strictly to the manufacturer's lubrication schedule (e.g., every 100 operating hours for ball bearings, or more frequently in harsh conditions).
Bolt Torque Checks: Periodically check and retighten bolts to the specified torque values, especially after the first few hundred hours of operation and then regularly thereafter (e.g., every 500 hours or annually).
Seal Inspection: Regularly inspect seals for damage, leaks, or signs of wear. Replace damaged seals promptly.
Noise and Vibration: Pay attention to any unusual noises (clicking, rubbing, popping) or vibrations, as these may indicate a problem with the bearing. We have provided a detailed guide to double-row slewing bearing noise in our "Double Row Slewing Bearing Noise: Causes, Troubleshooting, and Maintenance Guide".
Load Management: Always operate within the specified load charts to prevent overloading, which can lead to dimpling of the raceway.
Vary Load Positions: If possible, vary the load application points to avoid repetitive stress on the same part of the raceway.
Important Note: If you are not experienced with this type of heavy machinery repair, it is highly recommended to seek assistance from qualified technicians or the manufacturer's service personnel. Improper installation can lead to severe equipment damage, costly downtime, and serious safety hazards.